DIY Christmas Candy Calendar

You’ll Need:
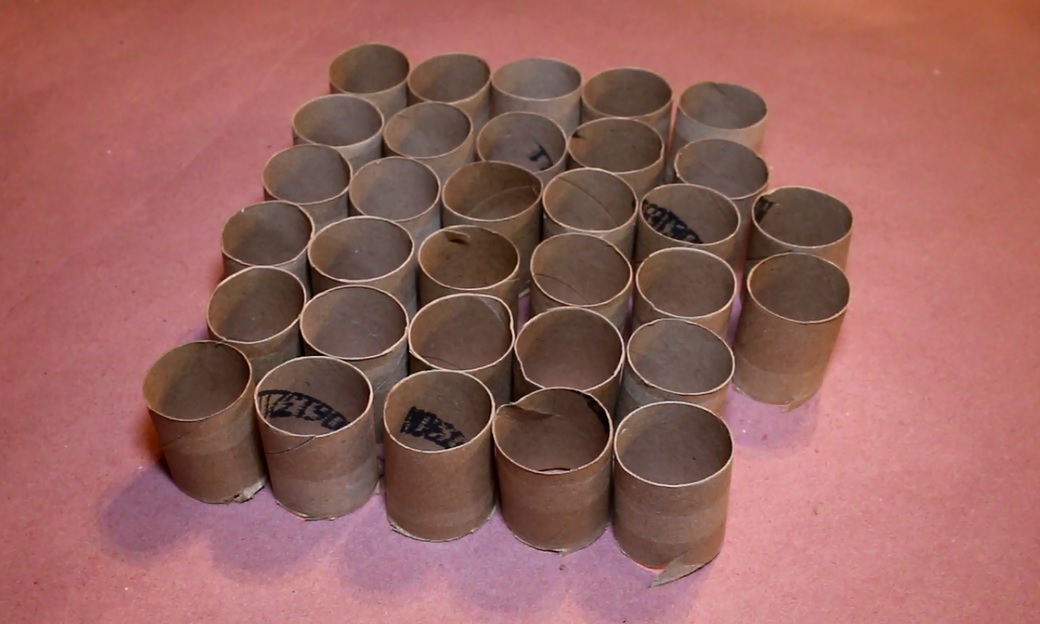
- 16 toilet paper rolls
- Elmer’s Glue
- Hot Glue Gun/Glue
- Scissors
- Tissue Paper
- Black Marker
Directions:
- Cut all of the toilet paper rolls in half – you should have 32 total

- Cut the tissue paper into 32 squares – Try to mix up the colors and patterns (you only need 31 but it’s good to have 1 extra in case of mistakes)

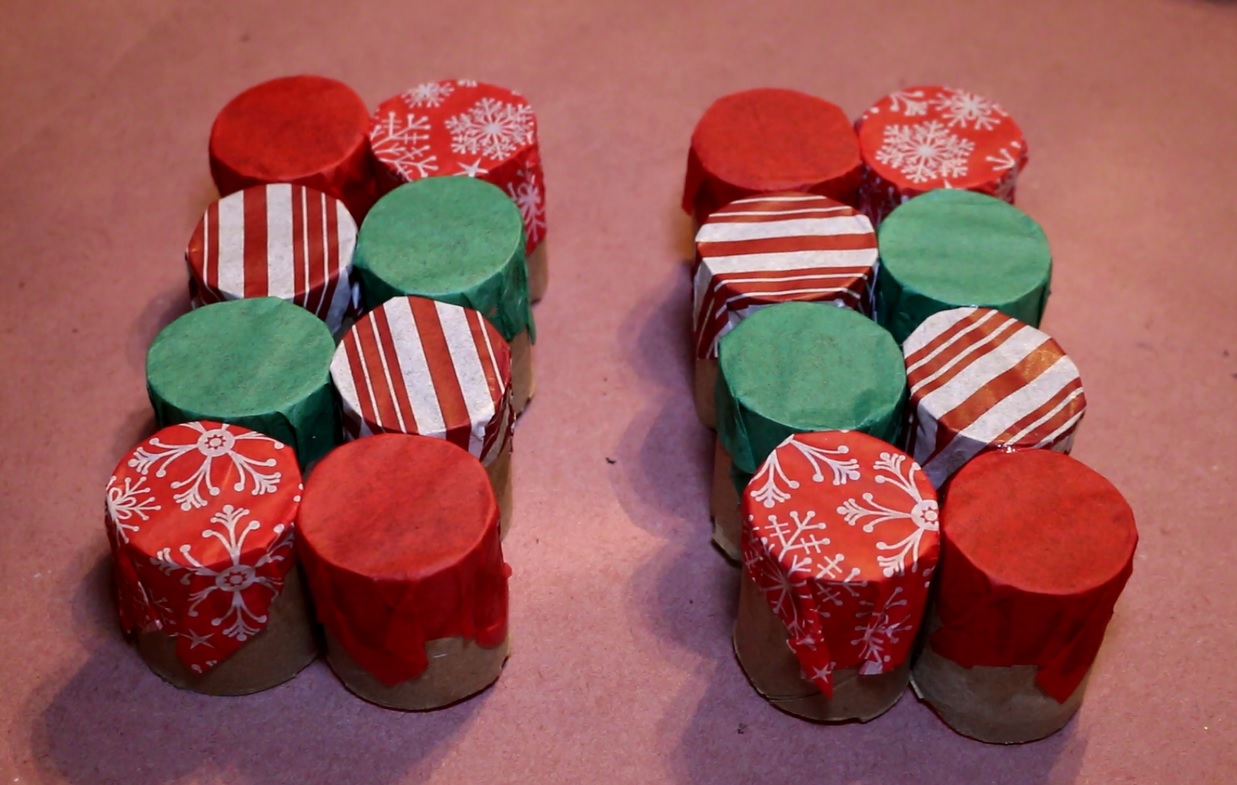
- Glue the top half of one of the toilet paper rolls, then add one of your tissue paper squares and fold down the sides

- Repeat step 3 until all of the toilet paper rolls are complete

- Begin gluing 2 of the toilet paper rolls together, then glue a 3rd one and a 4th, then move on to the next 4 rolls.

- Repeat step 5 until all of the toilet paper rolls have been glued in sections of 4

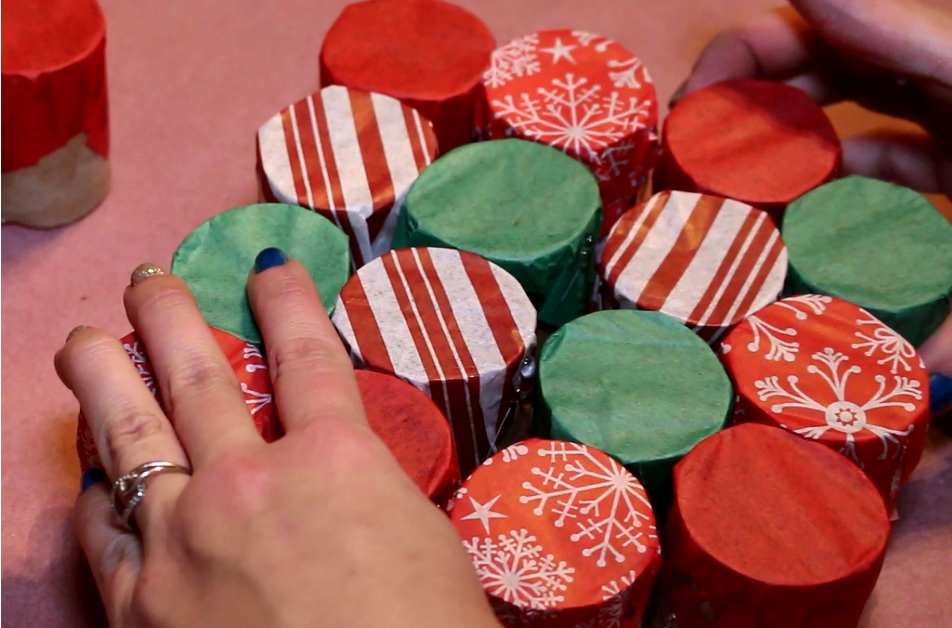
- Now glue two sections of 4 together

- Repeat step 7 until all of the toilet paper rolls have been glued in sections of 8

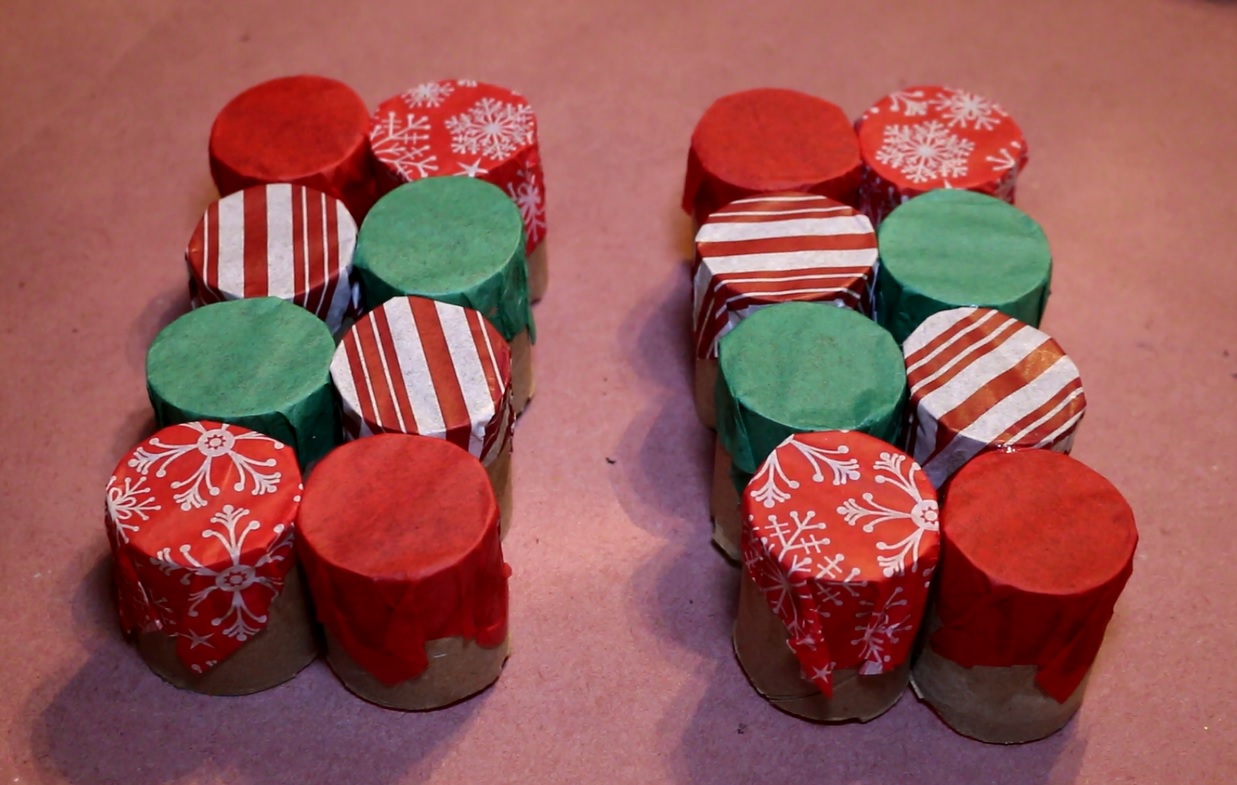
- Then glue the sections of 8 together. One of them will only have 7

- You will now have one section of 16 and one of 15. Now glue these last two sections together

- Your calendar should not be all glued together. Flip over your calendar and begin putting a chocolate or candy in each roll

- Now we need to glue on the back. Turn your calendar to one side and add glue to the toilet paper rolls. Then add a large piece of tissue paper.

- Flip the calendar with the tissue paper side facing down. To make it more secure, add a little bit of glue around the top of the toilet paper rolls, then fold the tissue paper over and press down firmly.
- Then glue the other side of the calendar. Also fold the ends in and glue them down

- Next we’re going to add some ribbon to the top so you can hang it up. You’ll need about 12-15″. Use the hot glue gun to attach to both sides of the calendar

- Lastly, add numbers 1-31 to the calendar. I just wrote the numbers on but you can use glitter and glue or stickers, any way you want

- The calendar is done! As each day passes, poke a hole through the tissue paper and take your candy